Are you a fan of cross-stitching and looking to take your projects to the next level? Embroidery outline graph cross stitch is a fantastic technique that can add depth and detail to your creations. Whether you’re a beginner or an experienced stitcher, this method is sure to enhance your work.
Embroidery outline graph cross stitch involves using a graph or chart to create an outline of your design before filling it in with stitches. This technique allows for more precision and can help you achieve a professional-looking finish. Plus, it’s a fun and creative way to add a unique touch to your projects.

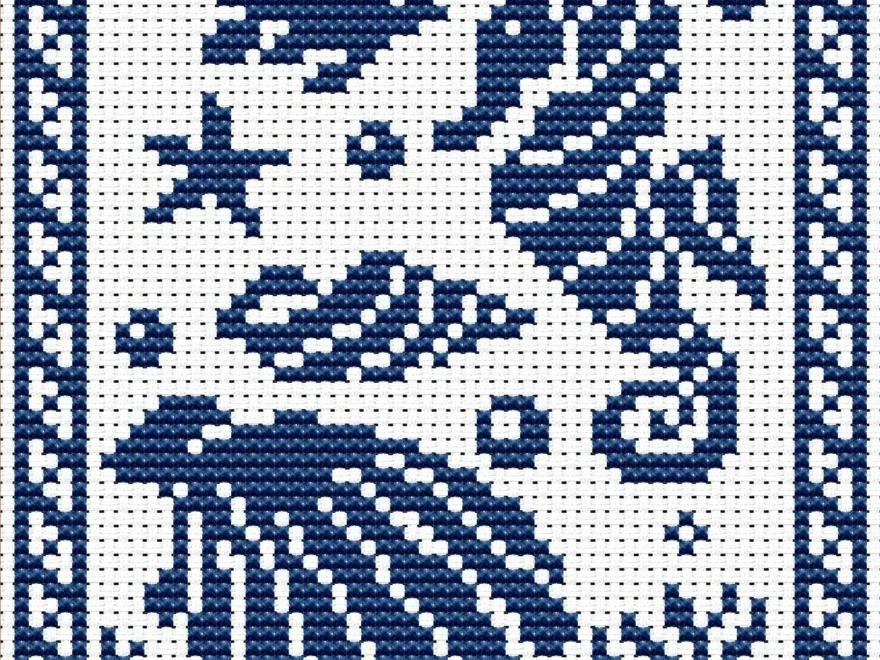
Embroidery Outline Graph Cross Stitch
Enhance Your Cross-Stitch Projects with Embroidery Outline Graph Cross Stitch
To get started with embroidery outline graph cross stitch, you’ll need a few basic supplies, including graph paper, a pencil, and your chosen cross-stitch pattern. Begin by sketching out the outline of your design on the graph paper, making sure to accurately represent the shapes and details of the image.
Once you have your outline mapped out, it’s time to transfer it onto your fabric. You can do this by using a water-soluble pen or by lightly tacking the paper directly onto the fabric. With your outline in place, you can then begin filling in the design with your choice of cross-stitch stitches, following the graph as a guide.
Embroidery outline graph cross stitch is a versatile technique that can be used to create intricate borders, detailed motifs, or custom lettering. Whether you’re working on a small project like a bookmark or a larger piece like a framed picture, this method can elevate your cross-stitching to new heights.
So, next time you’re looking to add some flair to your cross-stitch projects, why not give embroidery outline graph cross stitch a try? With a bit of practice and creativity, you’ll be amazed at the beautiful and professional-looking results you can achieve.

Small Cross Stitch Pattern Scenery Easy Cross Stitch Chart PDF

Cross Stitch Pattern Seahorse Pdf Chart Embroidery Stitch