Have you ever wondered how to create a polar coordinate graph? It may seem daunting at first, but with a little guidance, you’ll be able to master it in no time. In this article, we’ll break down the process in a simple and easy-to-understand way.
When it comes to plotting points on a polar coordinate graph, it’s all about understanding angles and distances. Instead of using the traditional x and y axes, polar coordinates use angles and radii to pinpoint a location. This unique system allows for a different perspective when graphing mathematical functions.

Polar Coordinate Graph Simple
Polar Coordinate Graph Simple: A Step-by-Step Guide
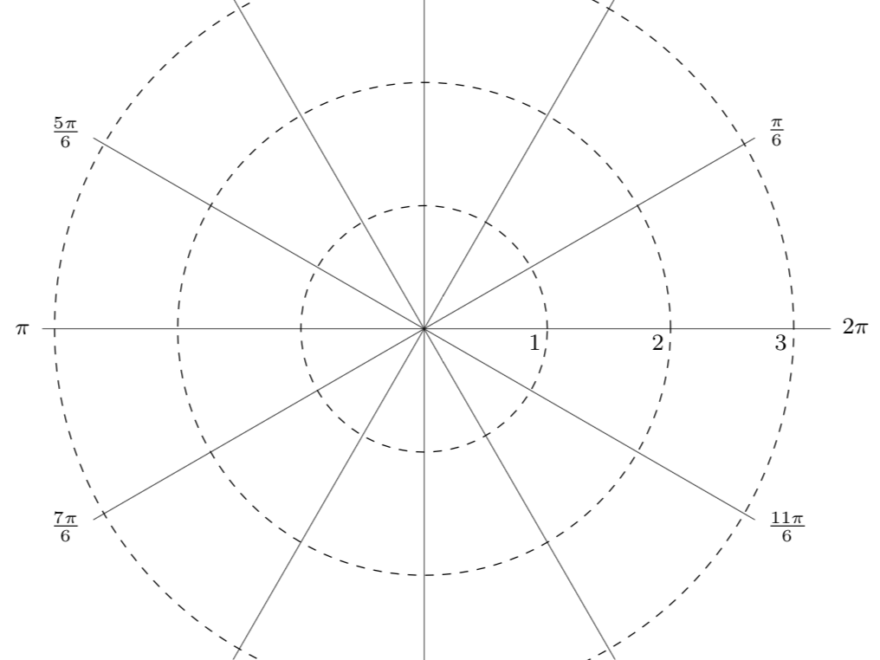
To create a polar coordinate graph, start by drawing a circle on a piece of graph paper. This circle represents the origin, with the center as (0,0). Next, decide on an angle and a radius to plot a point. The angle is measured counterclockwise from the positive x-axis, while the radius determines how far from the origin the point is located.
Once you have your first point plotted, continue plotting more points by repeating the angle and radius process. You can connect these points to create a curve, which represents a function in the polar coordinate system. Experiment with different angles and radii to see how the graph changes.
Remember, practice makes perfect when it comes to mastering polar coordinate graphs. Don’t be afraid to make mistakes and learn from them. With time and patience, you’ll be able to create complex graphs and visualize mathematical functions in a whole new light.
In conclusion, polar coordinate graphs offer a unique way to represent mathematical functions. By understanding angles and radii, you can plot points and create curves that showcase the beauty of the polar coordinate system. So grab your graph paper and start experimenting with polar coordinates today!

7 08 Graphs Of Polar Equations

MFG Polar Coordinates